-on-Ubuntu-20.04?)
LAMP stands for software package Linux, Apache, MySQL and PHP. These servers are required for the Php and MySQL based applications. Learn how to Install LAMP Stack on Ubuntu 22.04.
7 Steps to install LAMP Stack ( Linux, Apache, MySQL, Php)
To install LAMP Stack, follow the following steps:
- Operate System Upgrade.
- Install Apache Server.
- Install MySQL Server.
- Install Php modules.
- Verify the Php Extensions are enabled.
- Install Phpmyadmin.
- Install WordPress on the Server.
- Open a SSH terminal and access your Ubuntu 22.04 system with sudo (or root) privileged user.
Step 1 Operating System Update
First step before provisioning any server for production use, update the package repo and upgrade.
- apt update
- apt upgrade
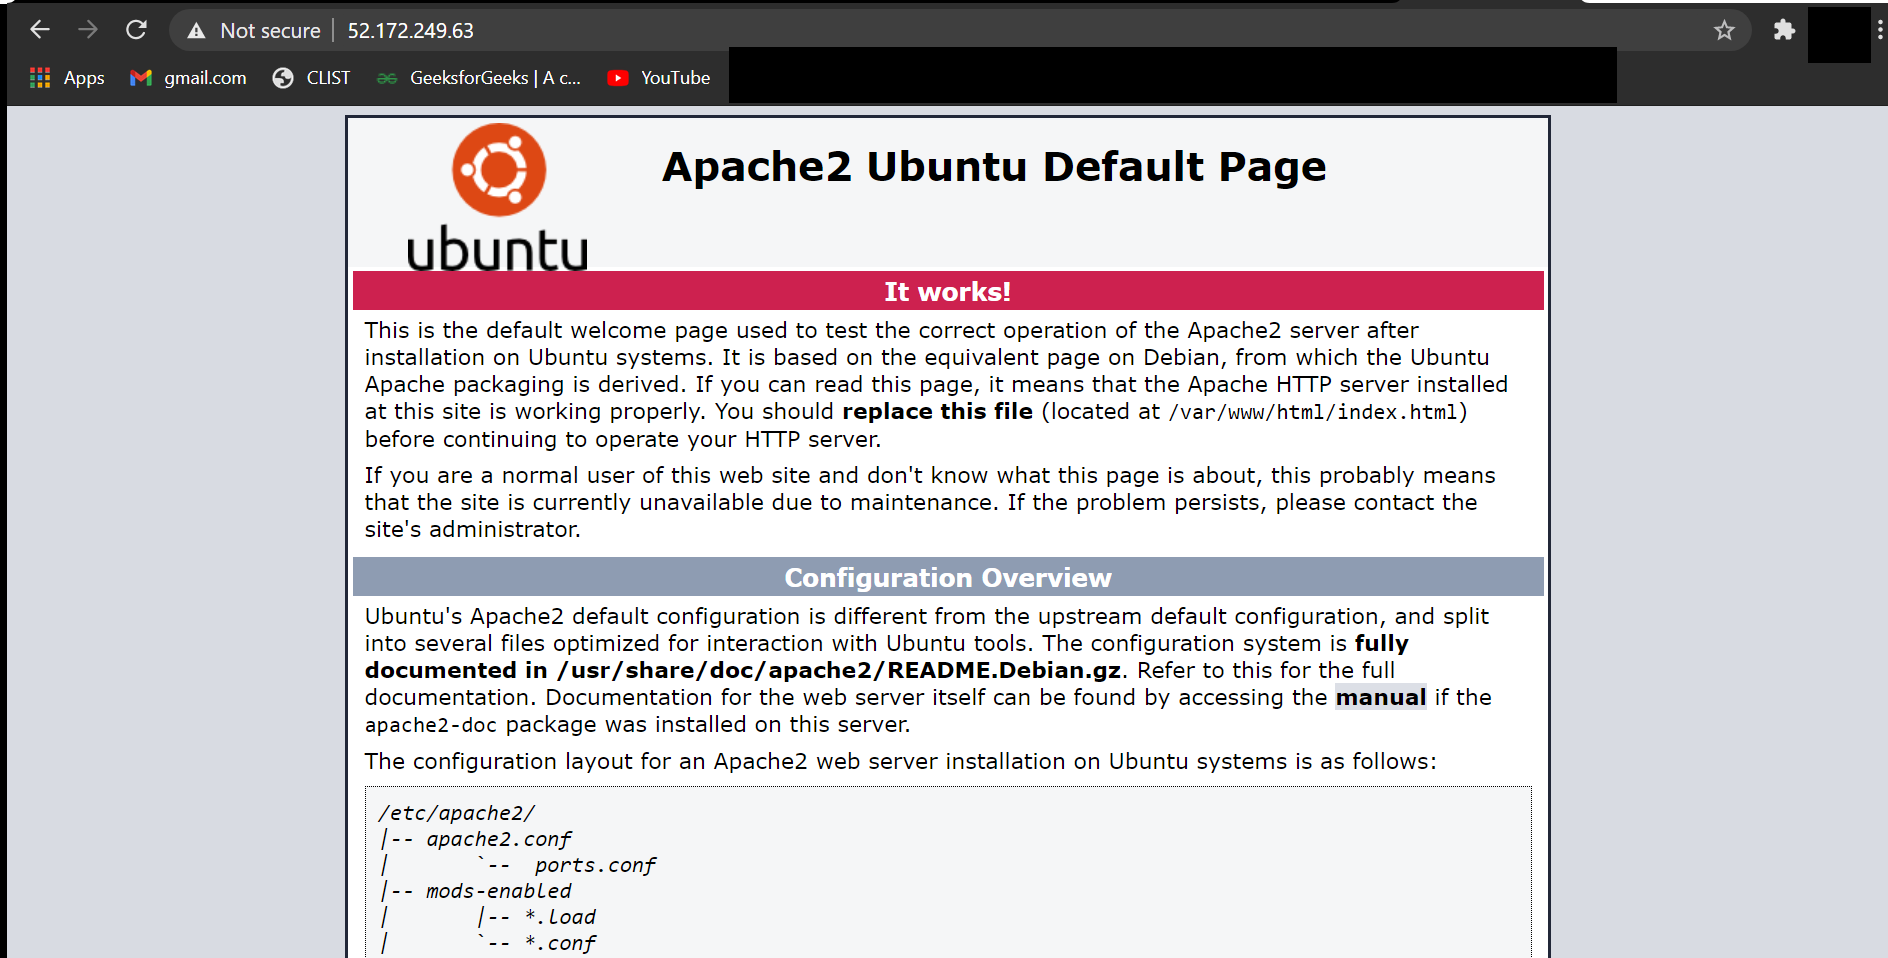
Step 2 Install Apache Server
Apache is the web server which parses all the php files and deliver it to the user’s browser, apache uses php processors to parse php files.
- install apache server (apt install apache2).
- verify the version apachectl –v.
- Check server Status (systemctl status apache2).
Step 3 Install MySQL Server
MySQL is the database server, it is essential for the web applications where database are based like CMS’s, all CMS needs database to be present.
1. Install MySQL Server (apt install mysql-server).
2. Check MySQL version (mysql –V).
3. Check service Status (service mysql status).
4. Login to MySQL
5. Provide MySQL root password, here is an example password, you should set up your own complex one:
ALTER USER 'root'@'localhost' IDENTIFIED WITH mysql_native_password by 'BlueSky123!#';
6. Secure MySQL Installation:
- Enter password for user root: [...] enter MySQL root Password here.
- VALIDATE PASSWORD COMPONENT can be used to test passwords and improve security. It checks the strength of password and allows the users to set only powerful and secure passwords.
- To setup VALIDATE PASSWORD component Press y|Y for Yes, or press Enter for No.
- Use existing password for root.
- To change root password Press y|Y for Yes, or press Enter for No.
- MySQL installation has an anonymous user by default to allow any user to log in without creating an account. Which you should remove.
- To remove anonymous users Press y|Y for Yes, or press Enter for No.
- Normally, root should only be allowed to connect from 'localhost'. So, no one can guess the root password from the network.
- You can disallow root login remotely by Pressing y|Y for Yes, or any other key for No.
- By default, MySQL comes with a database 'test' which anyone can access. This is only for testing, and should be removed before moving into a production.
- To remove test database and access to it Press y|Y for Yes, and any key for No.
- Reloading the privilege tables will make sure that all changes made will take effect immediately.
- To reload privilege tables, Press y|Y for Yes, any key for No.
7. Finally, Restart the MySQL once again (service mysql restart).
Step 4 Install Php with Extensions
Ubuntu 22.04 comes with the latest PHP 8.1 repository added. So we can install PHP 8.1 with the following required modules for better performance to PHP applications:
1. Install Php8.1 with modules
- apt install php8.1 libapache2-mod-php8.1 php8.1-common php8.1-mysql php8.1-xml \
- php8.1-xmlrpc php8.1-curl php8.1-gd php8.1-imagick php8.1-cli php8.1-imap \
- php8.1-mbstring php8.1-opcache php8.1-apcu php8.1-soap php8.1-zip php8.1-intl \
- php8.1-bcmath php8.1-bz2 php8.1-gmp zip unzip wget
2. Modify PHP Configurations for better performance.
- vi /etc/php/8.1/apache2/php.ini
- upload_max_filesize = 96M
- post_max_size = 64M
- memory_limit = 512M
- max_execution_time = 600
- max_input_vars = 3000
- max_input_time = 1000
3. Restart the Apache Server
systemctl restart apache2
Step 5 Verify and Enaple Php Extensions.
Install a php info page, and check the page for the extensions.
1. Expand php’s info page on apache’s document root.
- cd /var/www/html
- vi info.php
2. Access to web page.
Acssess to web page from browser with URL: http://server_ip/info.php, and search the page for modules and extensions like opcache, apcu, and others.
Step 6 Install phpMyadmin for Database access
phpMyadmin is a web based MySQL client, before installing WordPress you need to login to MySQL server and create database for WordPress:
1. Install phpMyadmin. (apt install phpmyadmin)
2. Check phpMyadmin configuration files.
- ls -la /etc/apache2/conf-available/phpmyadmin.conf
- // it should be softlink of /etc/phpmyadmin/apache.conf
3. Enable phpMyadmin Configuration to apache.
a2enconf phpmyadmin.conf // it should be already enabled
4. Restart Apache Server.
systemctl restart apache2
5. Access phpMyadmin.
Go to http://server_ip/phpmyadmin, then login to phpMyadmin with MySQL root Credentials and create a database for the WordPress installation.
Step 7 Install WordPress
Install WordPress to make sure full compatibility of LAMP Stack, if LAMP Stack setups properly, WordPress would be installed and accessed successfully. Install Wordpress by the following steps:
1. WordPress Installation Preparation
- cd /var/www/htm // go to apaches document root.
- wget https://wordpress.org/latest.tar.gz //download the latest Wordpress.
- tar zxvf latest.tar.gz //it will extract on the Wordpress directory
- cd wordpress // Go to wordpress directory
- mv * /var/www/html/ // move all content to document root.
- chown -R www-data.www-data /var/www/html // Give apache users permission on contents.
2. Go to http://server_ip, WordPress Installation page should appear. Then follow the steps to install WordPress.
After you have installed LAMP stack, you can install websites and web software on your server.
COMMENTS (0)
The list of comments is empty